Makeup
Step-By-Step Tutorial for a Classic Smoky Eye Look

Like a painter with a fresh canvas, you’re about to create a masterpiece with your very own eyes. You’ll start by prepping your lids, ensuring they’re smooth and ready for a symphony of shadow.
With each step, you’ll carefully blend the shades, shifting from a soft taupe to a bold, smoldering black.
You’re not just crafting a look; you’re offering a service, providing a touch of elegance to any moment.
As you learn to navigate the nuances of the smoky eye, remember that precision is key, yet it’s the gentle finesse that brings the look together.
You’ll equip yourself with the skills to not only enhance your natural beauty but to share this artistry with those around you, uplifting spirits and building confidence.
Let’s begin your journey into the world of classic smoky eyes.
Key Takeaways
- Preparing the eyelids is essential for a flawless, smoky eye look.
- Use a high-quality eyeshadow base or primer to enhance vibrancy and prevent creasing.
- Apply eyeshadow using a flat brush, patting it onto the lid for maximum pigment.
- Define the crease with a dark grey eyeshadow and blend for a soft and diffused look.
Preparing Your Eyelids
Before diving into the eyeshadow application, you’ll need to prep your eyelids by applying a moisturizer and base to ensure a smooth canvas. This step is crucial for achieving the flawless look that you and your clients seek.
Begin by gently dabbing a hydrating moisturizer around the eye area. This not only helps to reduce the appearance of fine lines but also creates a barrier that protects the delicate skin.
Next, select a high-quality eyeshadow base or primer. A thin layer is all you need to enhance the vibrancy of the eyeshadows and prevent them from creasing throughout the day. Make sure to blend the base evenly across the entire lid, up to the brow bone, and along the lower lash line if your design calls for it. This will help the subsequent colors to adhere better and allow for a more polished blend.
The care with which you prepare the eyelids sets the tone for the entire look. You’re not just applying makeup; you’re crafting an experience for your clients, ensuring they feel confident and beautiful.
With the eyelids prepped, you’re ready to move on to the artistry of the smoky eye.
Applying Base Eyeshadow
Grab your flat brush and pat a brownie taupe eyeshadow across your entire eyelid to set the perfect base for your smoky eye. This neutral shade is key as it’ll help the darker colors blend more smoothly, creating a seamless transition that’s essential for a classic smoky look that serves to enchant and captivate.
Now, to ensure you’re painting the perfect canvas, here’s your checklist:
- Use a primer beforehand to ensure your base eyeshadow adheres well and stays put.
- Gently press the eyeshadow onto your lid to avoid fallout and achieve maximum pigment.
- Cover the entire eyelid up to the crease, setting a foundation that will support the smokier shades to come.
- Keep the edges soft; harsh lines can detract from the smoky effect you’re aiming for.
Remember, the base is all about creating an even tone and texture for the drama that follows. You’re not just applying makeup; you’re crafting an experience, an ambiance that speaks volumes without a word.
Defining the Crease
Now that you’ve set a smooth base with the brownie taupe shadow, it’s time to define your crease using the dark grey eyeshadow for that classic smoky depth. This step will give your eyes that sought-after dimension and intensity, perfect for an evening of distinguished service and elegance.
When defining your crease, use a sheer crease brush for blending to ensure a seamless transition. With the dark grey eyeshadow, focus on the socket line and gradually build color in the outer corner. This will create a natural shadow that enhances your eye shape.
Remember, the key to a refined smoky eye is blending. Take a big fluffy brush and blend the edges of your crease color, making sure there are no harsh lines. Your goal is a soft, diffused look that speaks to your attention to detail and care for presentation.
Here’s a quick guide to help you visualize the steps:
| Step | Tool | Color |
|---|---|---|
| 1. Set Base | Flat brush | Brownie taupe |
| 2. Define Crease | Sheer crease brush | Dark grey |
| 3. Build Depth | Crease brush | Dark grey |
| 4. Blend | Fluffy brush | – |
Smudging for Smokiness
Transitioning from the defined crease, it’s time to smudge your eyeshadow to achieve the hallmark smokiness of this look. This technique blends the shadow to create a sultry effect that’s both captivating and serviceable, whether you’re preparing for a client or enhancing your own features for a night out.
To ensure you’re delivering the smokey allure with grace and precision, follow these steps:
Start by using a smudge brush to softly blend the brownie taupe shadow beneath your lower lashes, mirroring the lid’s gradient.
With the same brush, apply the dark grey eyeshadow close to the lash line for added depth, ensuring it’s seamlessly integrated with the taupe.
For a subtle touch of warmth, smudge a light brown shade just below where you’ve applied the grey, creating a dimensional and inviting look.
Maintain the balance of your makeup by checking the smudging doesn’t overwhelm the eyes; instead, it should complement your overall aesthetic.
Mascara and Cleanup
After blending and smudging your eyeshadows, apply a thickening black mascara to your lashes to add the final touch of drama to your smoky eye. A voluptuous sweep of mascara will make your eyes pop and ensure they’re the star of the show. Opt for a formula that promises both volume and length, and don’t be shy to build it up with a couple of layers for that extra oomph.
Next, it’s time to clean up any fallout from your eyeshadow application. Gently wipe away any stray marks with a soft makeup remover on a cotton swab. This step is crucial for a polished look, and it shows your commitment to a flawless finish for whoever you’re pampering.
Once you’ve tidied up the under-eye area, apply a hydrating moisturizer to soothe the skin. Then, lay down a smooth base which will serve as a canvas for the rest of your makeup. Smudge a bit of the light brown shade underneath the eyes to balance the top lid, enhancing the sultry effect of your smoky eye.
Final Touches
Completing your classic smoky eye, you’ll want to choose a nude lip color that complements the intensity of your eyes without competing for attention. This ensures a harmonious balance that allows your smoky eyes to stand out while serving to enhance the overall elegance of your look.
As you finalize your makeup, consider these finishing touches:
- Apply a touch of blush to give your cheeks a subtle, natural flush, which will breathe life into your complexion.
- Keep your brows looking natural and soft; they frame your face and shouldn’t overpower your smoky eyes.
- Freshen up your waterline with a swipe of eyeliner to add that polished touch that pulls the whole eye look together.
- Adjust the intensity of your makeup based on the occasion; you can go lighter for a day event or add more drama for an evening out.
Complementing Your Smoky Eyes
Harmony between your smoky eyes and the rest of your makeup is essential for a cohesive look. As you serve others with your artistry, remember that the allure of smoky eyes can be complemented by the subtlety of a nude lip. This balance ensures that your eyes are the focal point, while the lips provide a soft finish without competing for attention.
A hint of blusher gives life to your cheeks, creating a natural flush that effortlessly enhances the smoky effect. It’s like adding a warm, welcoming smile to the sophisticated mystery of the eyes you’ve crafted. And don’t forget to sculpt the face slightly; it adds definition that frames your masterpiece, highlighting the smoky eyes with finesse.
For occasions demanding a bolder statement, consider the classic combination of smoky eyes with red lips and matching nails. This pairing transforms the look from simply captivating to absolutely stunning, ideal for when you aim to leave a lasting impression.
Adjust the makeup intensity to suit the situation and your personal style. Remember, the goal is to empower and uplift through your work, allowing the inner beauty of those you serve to shine through alongside your creative expression.
Frequently Asked Questions
How to Do the Perfect Smokey Eye Step by Step?
You’ll start with a neutral base, layer darker shades for depth, blend well, and finish with mascara to nail that perfect smoky eye. Remember, it’s all about blending and enhancing your natural beauty.
How to Do a 60s Smokey Eye?
For a 60s smokey eye, you’ll start with brownie taupe over your lid. Add dark grey in the crease and outer corner. Blend well, smudge under eyes, and finish with natural brows and nude lips.
Is Smokey Eye Still in 2023?
Yes, you’re in luck; the smoky eye is still on-trend in 2023, and it’s a chic choice for serving others with an elegant, timeless look that’s adaptable for any event or occasion.
How to Do a Blended Smokey Eye?
To create a blended smoky eye, you’ll need to layer and blend eyeshadows smoothly. Start with a light base, then work darker shades into your crease and outer corners, blending well for a seamless effect.
Conclusion
Now you’ve mastered the classic smoky eye—a look that’s as timeless as it’s seductive. Your eyes are a canvas of smoldering taupe and charcoal, framed by lush lashes.
Remember, it’s all about blending, so keep that brush handy for future glam sessions.
With your understated lips and cheeks, your smoky eyes are the undeniable stars tonight.
Go on and captivate with your newfound finesse. You’re not just ready for the spotlight; you’re owning it.

Hey there! Ever thought of eyelashes as the frame for your eyes, like the perfect picture?
Well, just like frames, there are various types and styles of eyelashes to enhance your natural beauty. From classic to volume, there’s a lash trend for everyone. Whether it’s textured, cat-eye, or Russian, each trend offers a unique look to match your style.
To achieve the best result, seek guidance from a lash stylist who can create a customized look tailored to your eye shape. Don’t forget, regular maintenance and aftercare are key to keeping your lash extensions fresh and trendy.
So, let’s explore the world of eyelash types, application tips, and trends to find the perfect style for you!
Key Takeaways
- There are various types of eyelash extensions available, including real mink, sable, fox, faux animal fur, and synthetic silk options.
- Classic extensions provide a natural lash look, while volume extensions offer a more dramatic look.
- Sable extensions are suitable for thin lashes, while faux animal fur extensions provide a glossy finish.
- It is important to communicate with your lash artist, select the appropriate technique, and follow proper aftercare guidelines for eyelash extensions.
Types of Eyelash Extensions
If you’re considering eyelash extensions, you’ll find various types available, including real mink, sable, fox, faux animal fur, and synthetic silk options.
Classic Eyelash Extensions are perfect for achieving a natural lash look, adding length and volume to your lashes. Lash artists often recommend real mink extensions for a lightweight and natural feel. These extensions are meticulously applied, ensuring that each individual lash is adorned, complementing your eye shape.
If you desire a more dramatic look, volume lash extensions are an excellent choice. They offer a fuller, thicker appearance, perfect for special occasions or when you want to enhance your overall look.
Sable extensions, known for being the thinnest material available, are a great option for those with thin lashes. They provide a wispy, delicate look that can beautifully enhance your eyes.
Faux animal fur extensions are also a popular choice, offering a glossy finish and variety of styles while being cruelty-free.
For a more affordable option, synthetic silk extensions are thicker and hold a curl well.
Each type of lash extension offers a unique style, so it’s essential to consider your desired look and maintenance preferences before making a decision.
Eyelash Application Tips
Considering your desired results, consulting with a lash artist is essential for achieving the perfect lash look. Whether you prefer a natural lash style or desire the lushness of volume lashes, communicating your expectations is crucial. Here are some application tips to help you achieve the ideal result:
| Application Tips | Description |
|---|---|
| Choose the Right Style | Discuss with your lash artist the best style for your natural lash line and eye shape. |
| Technique Selection | Select the appropriate technique, such as classic or volume, based on your desired look. |
| Sensitivity Concerns | Communicate any sensitivity concerns to ensure the use of suitable adhesive and products. |
| Aftercare Instructions | Follow proper aftercare guidelines to maintain the longevity of your lash extensions. |
Latest Lash Trends
To stay updated on the latest lash trends, consult with your certified lash artist and discuss the styles that best complement your natural lash line and eye shape.
Different types of lashes are in vogue, including classic lashes for a timeless look, longer lashes for a sultry appearance, and Mega Volume for a dramatic, full lash line.
The textured lash extensions, which utilize a hybrid application method for a naturally wispy look, are also gaining popularity. Russian lashes, featuring multiple extensions for a thicker appearance, are another trend to consider.
If you’re looking for a more specific style, the cat-eye lash extensions could be the perfect fit, as they go longer toward the outer edge, creating a sultry and timeless look.
Additionally, the ’90s grunge beauty trend, which involves pairing dense lashes with dark lip liner and smudged eyeshadow for an edgy look, is making a comeback.
Eyelash Extension Aftercare
Remember the aftercare of your eyelash extensions is crucial for maintaining their longevity and fullness. Proper care ensures that your extensions stay in place and look beautiful for as long as possible. To help you with this, here are some essential aftercare tips:
| Aftercare Tips | Description |
|---|---|
| Keep them dry | Avoid getting your lashes wet for the first 24-48 hours after application to allow proper bonding. |
| Use oil-free products | Use specially formulated cleansers and oil-free makeup to avoid damaging the lashes and the adhesive. |
| Regular touch-ups | Schedule touch-up appointments with an experienced lash artist to maintain the fullness and longevity of your extensions. |
| Gentle cleansing | Use a soft makeup cloth to remove oil-free eyeliner, ensuring you cleanse your lashes without causing damage. |
Choosing the Right Lash Style
After learning about the different types of lash extensions and the importance of aftercare, it’s time to delve into selecting the right lash style to complement your eye shape and desired look.
When choosing the right lash style, consider your eye shape and the effect you want to achieve. For those with round eyes, Cat-eye lash extensions can elongate and lift the eyes, while Textured lash extensions provide a blend of classic and volume, perfect for adding fullness and definition.
If you desire a thicker lash line, Russian lashes, with their multiple extensions attached to each natural lash, can create a shorter and saturated lash look. To achieve a dramatic look, D curl lash extensions are recommended, especially when opting for the Russian lash trend.
Additionally, consider the ’90s grunge beauty trend, which encourages pairing dense lashes with dark lip liner and smudged eyeshadow for a trendy and edgy appearance.
Whether you prefer a natural or bold lash look, understanding the different lash styles and their suitability for your eye shape is essential in achieving your desired look.
Frequently Asked Questions
What Is the Trend in Lash Styles 2023?
In 2023, the trend in lash styles is all about embracing texture and drama. Achieve a naturally wispy look with textured lash extensions and elevate your style with the timeless allure of cat-eye lash extensions for stunning, elongated eyes.
What Are the Different Eyelash Application Techniques?
You apply eyelash extensions using different techniques like classic, volume, hybrid, and Russian Volume lashes. Classic gives a natural look, volume offers a fuller appearance, hybrid combines both, and Russian Volume creates a thicker lash look.
What Is the New Eyelash Trend?
Looking for a new eyelash trend? Textured lash extensions and cat-eye lashes are hot right now. They give a full, defined yet natural look. Russian lashes and ’90s grunge beauty are also gaining popularity.
How Do I Choose My Lash Style?
To choose your lash style, consider your eye shape and desired look. Experiment with different trends and seek guidance from a lash stylist. Discuss sensitivity concerns with a certified lash artist for a customized style.
Conclusion
So, whether you’re into textured, cat-eye, or Russian lashes, there’s a perfect style for you to rock in 2023.
Remember to seek professional guidance for the best application tips and aftercare practices to keep your lashes looking on point.
With the right choices and care, you can enjoy trendy and stunning eyelash extensions that enhance your natural beauty.
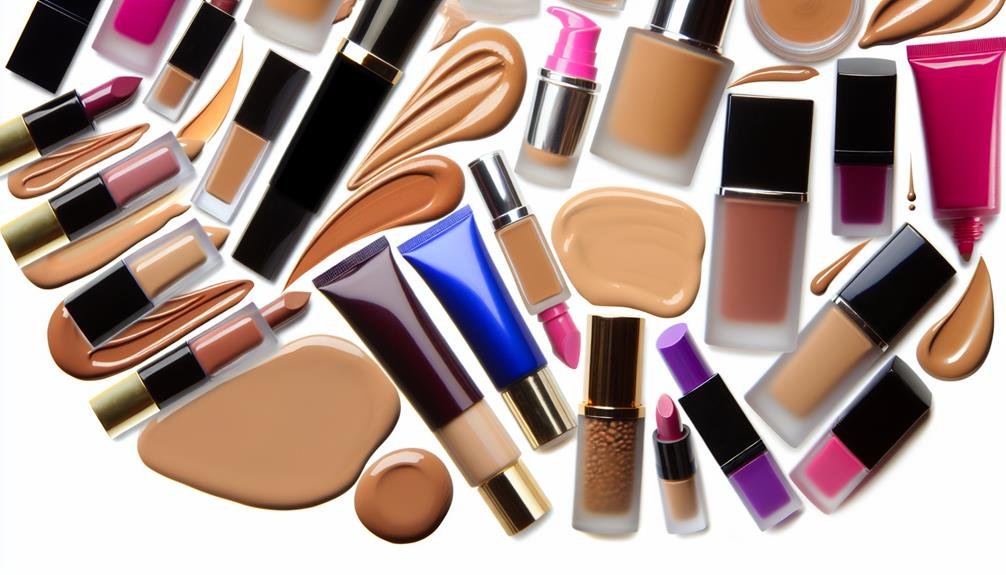
Struggling to find the perfect foundation that suits your unique skin type and concerns? With an abundance of options to choose from, navigating the world of foundation makeup can be overwhelming. But fear not, as we delve into the essential factors to consider when selecting the right foundation for you.
From understanding different formulas and types to identifying the best brands for your specific needs, you'll gain the knowledge and confidence to make an informed decision.
Whether you have acne-prone, aging, dry, oily, combination, or sensitive skin, there's a foundation out there tailored just for you.
By the end of this discussion, you'll be equipped with the tools to select the perfect foundation that enhances your natural beauty and complements your individual skin type.
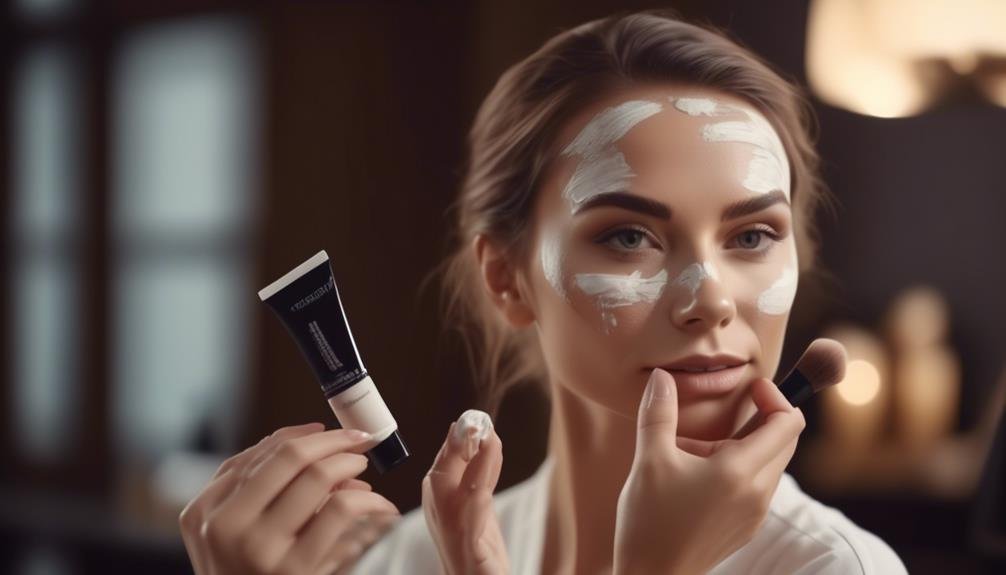
Understanding Your Skin Type
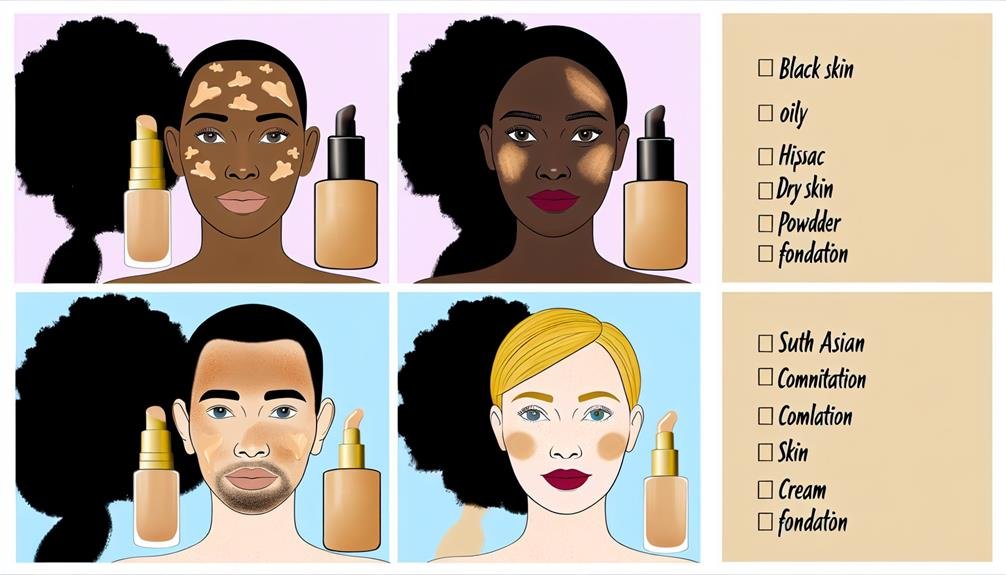
Understanding your skin type is crucial when it comes to selecting the right foundation for your specific needs and concerns.
There are different types of skin: dry, oily, combination, and sensitive. Dry skin requires a foundation that provides hydration and prevents flakiness. Look for formulas with moisturizing ingredients like hyaluronic acid.
For oily skin, opt for foundations with oil-absorbing properties and a matte finish to control shine throughout the day.
If you have combination skin, consider a foundation that balances both dry and oily areas. You might benefit from using different formulas on different parts of your face.
Lastly, sensitive skin needs a gentle, non-irritating foundation with minimal ingredients and fragrances.
Understanding your skin type and its unique characteristics will help you narrow down the options and find the perfect foundation that works for you.
Keep in mind that your skin type may change with the seasons, so it's essential to reassess your foundation needs regularly.
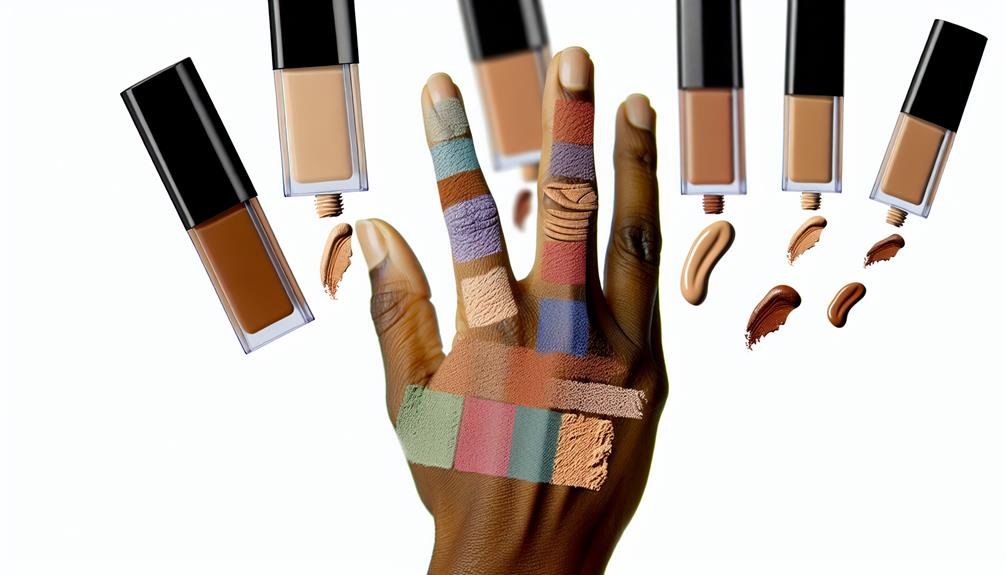
Identifying Undertones for Shade Matching
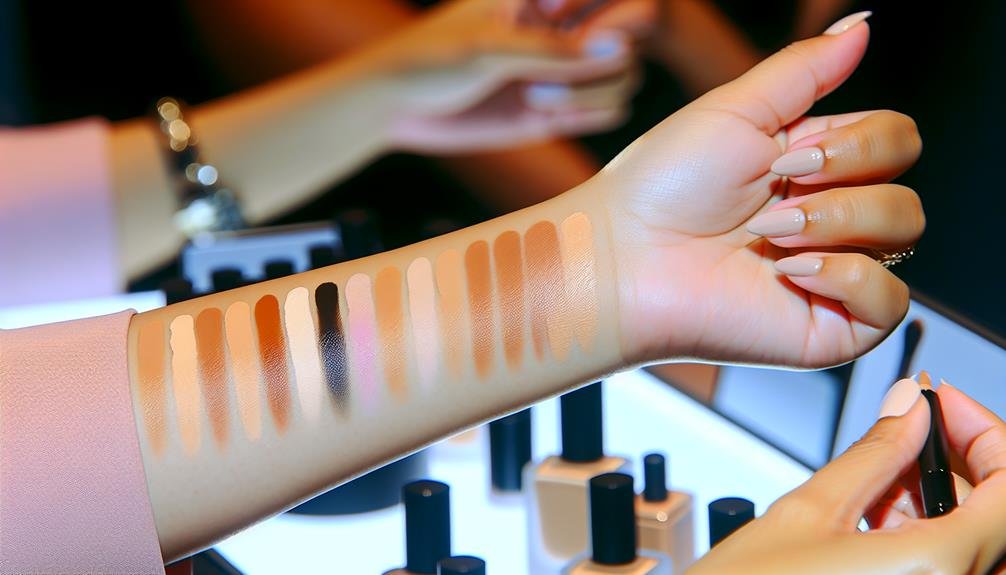
To accurately match your foundation shade, it's essential to identify your undertones, which play a crucial role in achieving a seamless and natural-looking finish. Undertones fall into three categories: warm, cool, and neutral.
Warm undertones have hints of yellow, peach, or gold, while cool undertones have pink, red, or blue hues. Neutral undertones combine both warm and cool tones or have a balance of these colors.
To determine your undertone, examine the veins on your wrist – if they appear greenish, you likely have warm undertones, and if they look bluish, your undertones are cool. Another method is to observe how your skin reacts to different metals – if gold jewelry complements your skin more than silver, you may have warm undertones, while silver looks better on cool undertones.
Understanding your undertones will guide you in selecting the right foundation shade that harmonizes with your skin, creating a flawless and radiant look. Utilize shade-matching tools like the Pantone SkinTone Guide and physically swatch foundations to ensure an accurate match for your unique undertones.
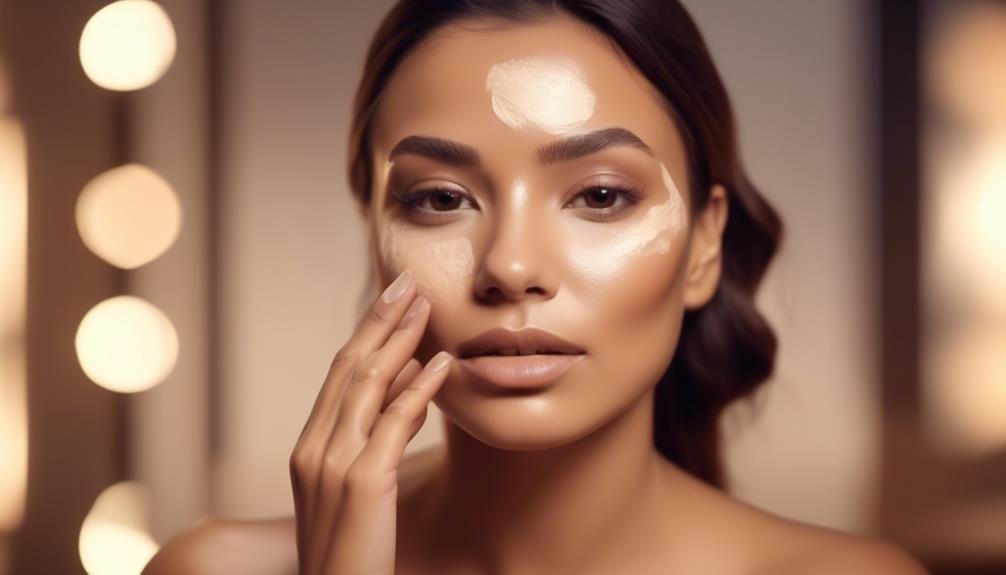
Choosing the Right Coverage Level
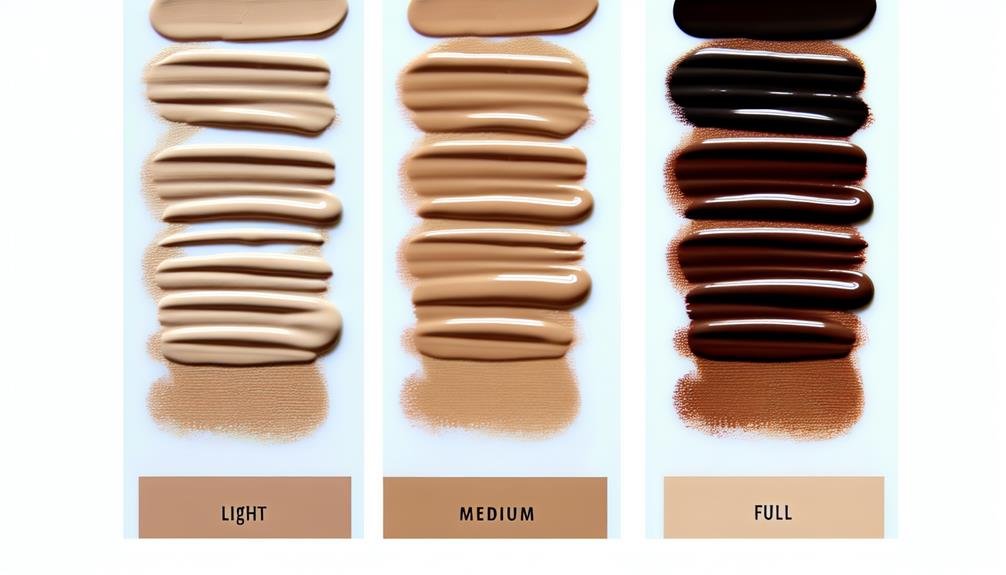
When selecting a foundation, consider the coverage level that best suits your skin type and desired finish for a flawless look. The coverage level refers to how much the foundation can conceal imperfections and even out your skin tone. If you have blemishes or discoloration you want to cover, opt for a medium to full coverage foundation. For a more natural look, choose a light coverage foundation. If you want the flexibility to customize your coverage, go for a buildable coverage foundation that can be layered to achieve your desired look.
For those with oily skin, consider a matte foundation to control shine throughout the day. Dry skin may benefit from a hydrating cream foundation to keep the skin moisturized. If you have combination skin, you can choose between a dewy or matte finish based on your preference.
When selecting a foundation, it's crucial to match it to your skin color for a seamless and natural look. Experiment with different formulas and finishes to find the perfect coverage level that works for you.
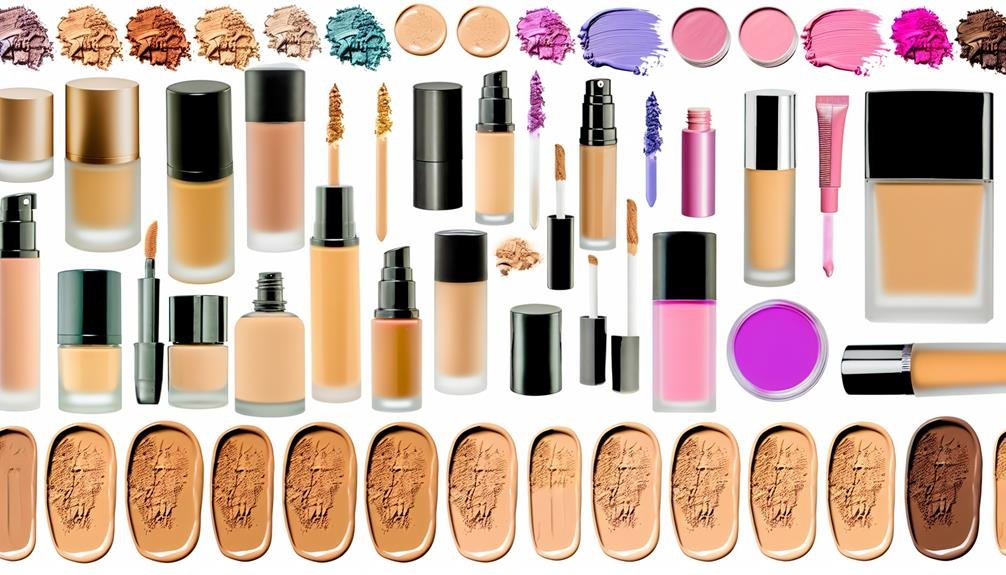
Exploring Different Foundation Types

Begin your foundation journey by exploring the diverse range of foundation types available to find the perfect match for your skin's needs and desired finish. From liquid to powder, stick, cream, mousse, and tinted moisturizers, there's a wide variety of foundation types to choose from.
Liquid foundations provide versatile coverage and are suitable for most skin types. Powder foundations work well for oily skin, offering a matte finish and oil control. Cream foundations are great for dry skin, providing hydration and a smooth, dewy finish. Stick foundations are convenient for on-the-go touch-ups and offer buildable coverage. Mousse foundations are lightweight and blend easily, perfect for achieving a natural look. Tinted moisturizers offer sheer coverage and are excellent for a no-makeup makeup look.
When exploring different foundation types, consider reputable brands that offer a wide range of foundation makeup colors and formulas to ensure you find the right shade and texture for your skin.
Exploring Liquid Foundation Options
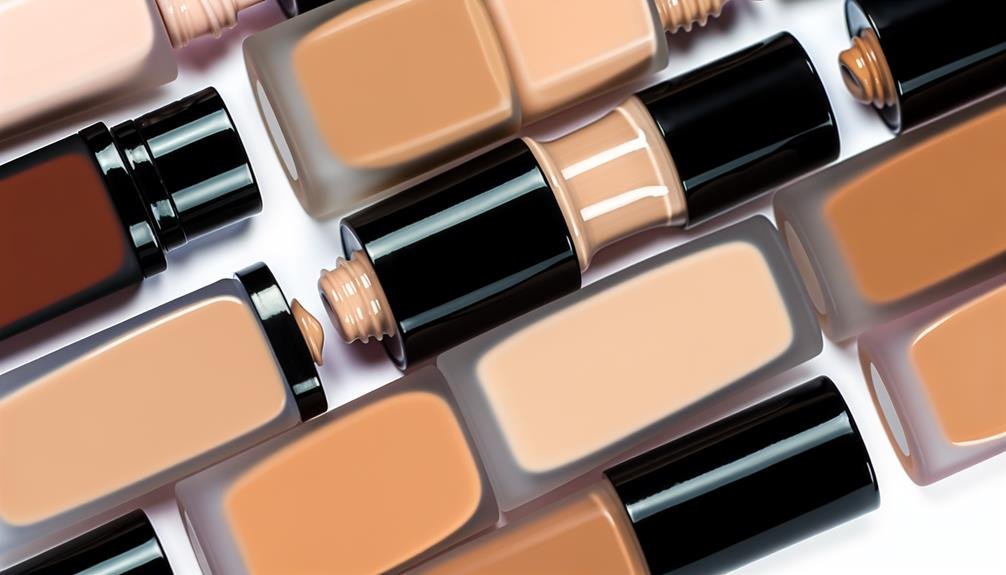
Consider exploring the diverse range of liquid foundation options available to discover the ideal match for your skin's needs and desired finish.
Liquid foundations come in a variety of colors, formulas, and types, catering to different skin types and concerns. Brands offer an extensive selection of liquid foundation options, ensuring that you can find the perfect match for your skin.
When exploring liquid foundation options, consider the wide range of foundation makeup colors available. From fair to deep skin tones, brands now offer an inclusive array of shades to match various undertones, ensuring a seamless and natural finish.
Furthermore, liquid foundation formulas vary from lightweight and hydrating to full coverage and long-wearing. This diversity allows you to choose a formula that suits your skin type, whether it's dry, oily, combination, or sensitive. Additionally, liquid foundations offer different finishes, including dewy, matte, and satin, providing options for achieving your desired look.
With the extensive availability of liquid foundation options from various brands, you can confidently select a product that meets your specific requirements, ensuring a flawless complexion that complements your skin.
Exploring Serum Foundation Options
If you've been exploring the diverse range of liquid foundation options, you might want to shift your focus to serum foundation, which offers skincare benefits alongside providing coverage.
Serum foundation is a game-changer as it offers a concentrated formula, meaning a little goes a long way. It's easily blendable with moisturizer, providing a tinted hydrating effect that's perfect for a lightweight, natural finish.
This type of foundation is versatile and can be customized to match changes in skin tone. When it comes to coverage level, serum foundations typically offer a light to medium coverage, making them suitable for various skin types. If you have mature skin, you'll appreciate the anti-aging properties often found in serum foundations.
Additionally, for those seeking a matte finish, there are serum foundation options designed to provide a smooth and shine-free look. Exploring serum foundation options can be a great choice for those looking to enhance their natural beauty while also taking care of their skin.
Exploring Cream Foundation Options
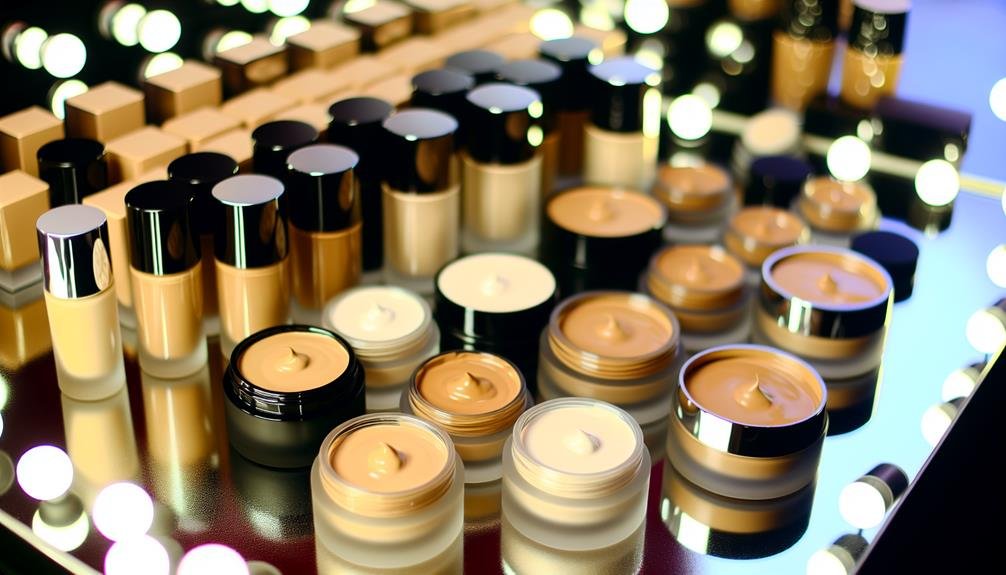
When exploring cream foundation options, it's important to identify your specific skin concerns and needs to find the perfect match for your skin. Cream foundations come in different formulas, offering a wide range of coverage and finishes to suit various skin types.
If you prefer a lightweight foundation, opt for a cream formula that feels weightless on the skin while still providing coverage. For those seeking highly pigmented options, look for cream foundations that offer intense color payoff without feeling heavy.
Consider incorporating cream foundations with skincare benefits into your routine to streamline your makeup and skincare routine. These foundations often contain nourishing ingredients that can complement your skincare routine, providing added hydration or other targeted benefits.
When selecting a cream foundation, take into account your skin type, coverage needs, and finish preferences. Experiment with different shades and application methods to find the perfect cream foundation that aligns with your unique skin concerns and preferences.
Exploring Powder Foundation Options
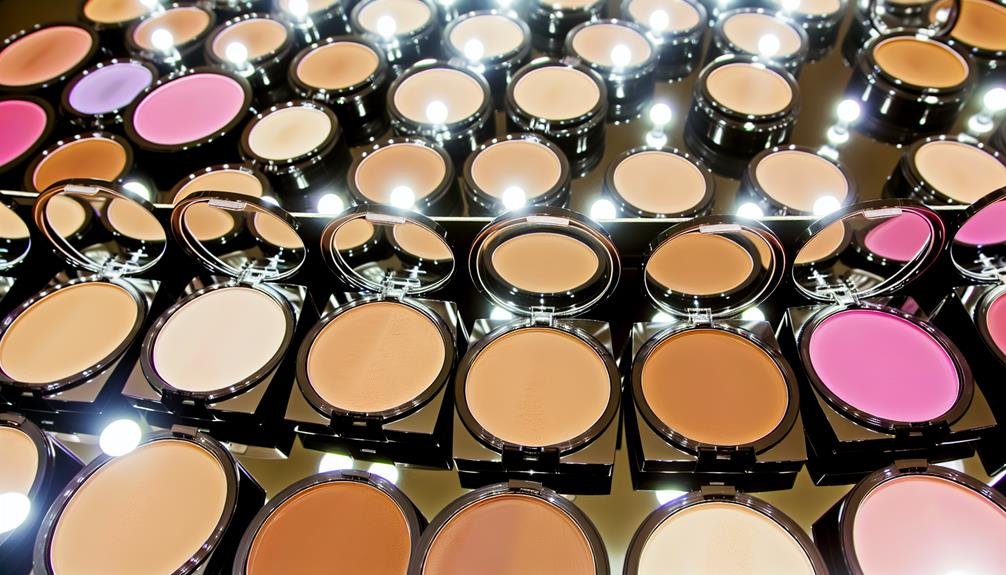
Start your search for the perfect powder foundation by identifying your specific skin concerns and needs.
When exploring powder foundation options, consider the different types, formulas, and brands available to find the best match for your skin. Powder foundations come in a variety of formulations, including pressed powders and loose powders, each offering unique benefits.
Look for powder foundations that cater to your skin type, whether it's oily, dry, sensitive, or combination. Consider the coverage level you desire, as powder foundations range from sheer to full coverage. Brands offer a wide range of shades to match various foundation makeup colors, so determine your undertone (warm, cool, or neutral) to find the perfect match.
When testing powder foundations, swatch shades on your jawline or ask for assistance to ensure a seamless blend with your skin. Opt for sample sizes or testers before committing to a full-size product, allowing you to assess the formula's compatibility with your skin.
Exploring Stick Foundation Options
Transitioning from exploring powder foundation options, now let's dive into the world of stick foundation and discover the perfect match for your skin needs.
Stick foundation offers a convenient and mess-free application, making it ideal for on-the-go touch-ups. It comes in various formulas, including cream and liquid, to cater to different skin types.
The stick format allows for precise application, making it easier to target specific areas that require more coverage. Whether you prefer a natural, dewy finish or a matte look, stick foundations are available in a wide range of coverage and finish options to suit your preferences.
When selecting a stick foundation, consider factors such as your skin type, desired coverage, and undertones. It's essential to test the foundation in natural lighting to ensure the perfect match. Look for stick foundation options that offer a diverse range of foundation makeup colors, formulas, and types to find the best fit for your unique skin needs.
Exploring Tinted Oil Foundation Options
Exploring tinted oil foundation options offers a luxurious solution for ultra-dry skin, providing both moisturizing properties and a radiant, glowy finish. When considering tinted oil foundation, it's essential to factor in coverage, finish, and your specific skin type.
Tinted moisturizers and CC creams are also great alternatives for a lighter, more natural look. These options provide hydration and a sheer tint, perfect for those no-makeup makeup days.
When customizing your tinted oil foundation, pay attention to your skin's specific concerns and undertones to achieve a seamless, natural look. It's important to note that with any oil-based product, you should be cautious not to overapply to avoid clogging pores or creating a greasy appearance. Additionally, to prevent transfer throughout the day, lightly set the foundation with a translucent powder.
Whether you're looking for a radiant, dewy finish or a more matte look, exploring tinted oil foundation options can cater to your needs, offering a nourishing and luminous base for your makeup.
Frequently Asked Questions
How Do I Know What Color Foundation I Need?
You know what color foundation you need by identifying your undertones and testing shades in natural light. Look for a formula that suits your skin type and coverage preferences. Blend and customize for a perfect match.
How to Choose Foundation Type?
To choose the right foundation type, consider your skin type and specific concerns. For acne-prone skin, opt for medium-to-full coverage and non-comedogenic formulas. Aging skin benefits from light coverage and anti-aging properties. Dry skin requires hydrating foundations and application with fingers.
What Foundation Formula Should I Use?
For your skin type, consider a foundation formula that suits your needs. Acne-prone skin benefits from medium-to-full coverage and non-comedogenic formulas. Aging skin benefits from light coverage and anti-aging properties. Dry skin requires hydrating foundations.
How Do I Find the Best Makeup for Me?
To find the best makeup for you, identify your skin type and concerns. Determine your undertones and test foundations in natural light. Choose a formula that suits your skin and experiment with application methods for the perfect blend.
Conclusion
Congratulations, you're now a foundation expert! You've learned to decode your skin type, match undertones, and choose the perfect coverage level.
You've explored different foundation types and found the one that suits you best.
Now, armed with this knowledge, you can confidently rock your flawless complexion.
So, go ahead and SLAY – Show off your Look And Youthfulness!
Navigating the world of makeup for your skin type can be like searching for the perfect puzzle piece in a sea of options. With so many products available, it can be overwhelming to know where to start. Understanding your skin type is the first step in achieving a flawless makeup look that complements and enhances your natural beauty. From oily to sensitive skin, each type requires specific considerations when it comes to choosing the right foundation, concealer, and setting powder. But fear not, as we will guide you through the process, providing valuable tips and product recommendations to help you achieve a radiant and long-lasting makeup look tailored to your skin type.
Key Takeaways
- Use a mattifying primer and oil-free foundations for oily skin to control excess oil and prevent clogged pores.
- For normal skin, focus on creating a smooth base with a primer and choose a foundation that matches your skin tone perfectly.
- Hydrate dry skin with moisturizers and opt for dewy finish products to add moisture and glow.
- Those with combination skin should use oil-free foundations, mattifying primers, and balance the different areas of their face with tailored skincare and makeup routines.
Makeup Tips for Oily Skin
If you struggle with oily skin, incorporating the right makeup products and techniques can help control excess shine and keep your makeup looking fresh all day. Start by using a mattifying primer to control excess oil production. Look for oil-free and non-comedogenic foundations to avoid clogging pores and control oil. When setting your foundation, use a translucent powder to lock it in place and prevent shine throughout the day. Lightweight, oil-free, and longwear formulas are your best bet for a matte finish and prolonged makeup wear. Throughout the day, blot excess oil with oil-absorbing sheets to maintain a shine-free look. When choosing makeup for oily skin, it’s essential to consider the specific needs of your skin type. By following these tips and selecting the right products, you can effectively control excess oil and achieve a fresh, matte look that lasts all day.
Makeup Tips for Normal Skin
For normal skin, you can experiment with various makeup products and techniques to enhance and highlight your naturally healthy and balanced skin. Here are some makeup tips tailored to your skin type:
- Use a primer to create a smooth base for makeup, ensuring a flawless and long-lasting finish.
- Choose a foundation that matches your skin tone perfectly, providing a seamless and natural look.
- Blend out harsh lines with a brush or beauty sponge for a soft and well-blended makeup application.
- Finish with translucent setting powder or setting spray for a lightweight and radiant makeup look that enhances your normal skin.
These tips will help you achieve a polished and glowing look while maintaining the natural beauty of your skin. Remember to celebrate your normal skin by embracing minimal makeup and allowing your skin’s natural radiance to shine through.
Makeup Tips for Dry Skin
Transitioning from discussing makeup tips for normal skin, focus now on addressing the specific needs of dry skin when it comes to makeup application. If you have dry skin, it’s important to use hydrating and nourishing moisturizers before applying makeup. Look for a dewy primer to create a smooth base for flawless makeup application on dry skin. When choosing a foundation, opt for one with a dewy finish to add moisture and glow to your skin. Avoid using loose powder for baking, as it can lead to excessive dryness and cracked makeup. Instead, opt for cream products over powder-based ones to hydrate and avoid clinging to dry patches on your skin. Additionally, it’s essential to keep your skin hydrated even without applying makeup. Consider using hydrating face mists throughout the day to maintain moisture levels. By following these makeup tips for dry skin, you can achieve a radiant and healthy look while keeping your skin hydrated and nourished.
Makeup Tips for Combination Skin
To address the needs of combination skin when applying makeup, it’s important to tailor your skincare and makeup routine to balance the different areas of your face. For those with oily or combination skin, here are some makeup tips to help you achieve a flawless makeup look:
- Choose the best foundation: Look for oil-free and non-comedogenic foundations that offer buildable coverage to manage the different skin types on your face.
- Use a mattifying primer: Opt for a mattifying primer to control excess shine in the T-zone while maintaining a natural radiance in drier areas.
- Balance natural oils: Consider mixing a drop of natural oil with your foundation for a balanced finish, ensuring hydration without adding excess shine.
- Set your makeup: Use a translucent setting powder to set your makeup, focusing on the oil-prone areas to maintain a long-lasting, matte look.
Makeup Tips for Sensitive Skin
If you have sensitive skin, prioritize using fragrance-free and hypoallergenic makeup products to minimize the risk of irritation. Look for makeup products specially designed for sensitive skin, as they are formulated to be gentle and non-irritating. Opt for mineral-based makeup formulations, as they are less likely to cause sensitivity or allergic reactions. When choosing a makeup remover, select gentle, oil-based products to avoid stripping the skin of its natural oils. Hydrate your skin with a lightweight, non-comedogenic moisturizer before applying makeup to create a barrier between your skin and the products. If you have acne-prone skin, choose non-comedogenic makeup to prevent clogged pores and breakouts. When removing makeup, use natural cleansing balms instead of wipes to avoid skin irritation. Avoid harsh chemicals, dyes, and additives in makeup products, as these can aggravate sensitive skin. Be cautious of too many active ingredients in your skincare routine, as they may cause irritation. Prioritizing gentle, soothing, and non-irritating makeup products can help maintain the health and comfort of your sensitive skin.
Makeup Tips for Aging Sking

If you’ve been prioritizing gentle and non-irritating makeup products for your sensitive skin, you may also find it beneficial to adjust your makeup routine to address the specific needs of aging skin. As you navigate the world of makeup for aging skin, here are some essential tips to help you look and feel your best:
- Hydrate with Hyaluronic Acid: Look for makeup and skincare products containing hyaluronic acid to keep your skin hydrated and plump, reducing the appearance of fine lines and wrinkles.
- Choose Full Coverage Foundations: Opt for full coverage foundations to even out your skin tone and conceal age spots or hyperpigmentation, providing a flawless finish.
- Use Translucent Powder: Set your makeup with translucent powder to reduce shine and ensure your makeup stays in place throughout the day, giving you a fresh and polished look.
- Prioritize Skincare: Remember that good makeup starts with good skincare. Exfoliate gently, use light moisturizers, and apply primer to create a smooth canvas for your makeup, helping it last longer and preventing it from settling into fine lines.
Frequently Asked Questions
How Do I Choose the Right Makeup for My Skin Type?
First, identify your skin tone and undertones. Then, test foundation on your jawline to find a match. Match concealer to foundation and use translucent powder to set your makeup without altering the shade.
How Do I Find the Right Foundation for My Skin Type?
To find the right foundation for your skin type, consider your skin tone and undertones. Test foundation shades on your jawline and match your concealer to your foundation. Choose products suitable for your skin type, such as oil-free or hydrating formulas.
How Do I Find the Right Makeup for My Skin Tone?
First, determine your undertone by checking your wrist veins or considering jewelry colors that suit you. Find your skin tone and undertones to match foundation and concealer, and set your makeup with translucent powder for a flawless look.
How Do You Figure Out What Makeup Looks Best on You?
To figure out what makeup looks best on you, consider your skin tone and undertones. Identify your undertone by checking your wrist veins or jewelry preference. Test foundation on your jawline and pair it with matching concealer and translucent powder for a flawless finish.

How to Care for Your Eyelashes

How to Get Rid of Blackheads and Avoid Getting Them Again

The Ultimate Guide to Achieving Soft, Supple Lips

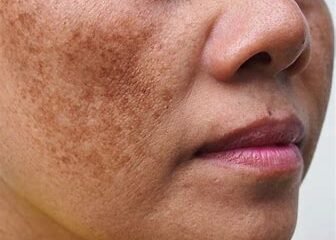
Skin Care Products That Diminish Hyperpigmentation

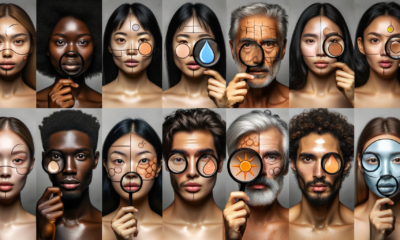
Ultimate Guide to Identifying Your Skin Type

Why Brow Gels Can Cause Brows to Fall Out
-
 Skin Care2 years ago
Skin Care Products That Diminish Hyperpigmentation
-
 Skin Care2 years ago
Ultimate Guide to Identifying Your Skin Type
-
 Brow Care2 years ago
Why Brow Gels Can Cause Brows to Fall Out
-

 Brows2 years ago
How to have Thicker Eyebrows
-
 Homemade Beauty2 years ago
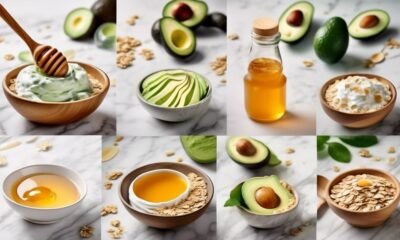
Recipes for Homemade Facials
-

 Skin Care2 years ago
Morning and Night Skincare Routines for Various Skin Concerns.
-

 Lip Care2 years ago
Vegan Lip Care: The Best Cruelty-Free Products
-

 Hair-Styling2 years ago
Easy Hairstyles for Busy Mornings.